Showing posts with label Art. Show all posts

Tuesday, 24 July 2012

Art Project: Pages 4,5,6,7,8 & 9

I'm gonna have to think of a better way to title these posts. What if I do a fourteen page long project? :| 


So this page started as a kind of 2am-oh-look-let's-do-something kinda thing. And then I did the first part, at which point I realised that I had no idea how to carry on with it... 


To start off with I drew the profile of a woman's face on the outer sides of the two central pages. I then cut around the edges of this outline. 


I then cut out pieces of various patterned paper into squares (mostly origami paper) and glued them onto the outer sides of this shape. The photos from this were blurred because apparently at 2am I am fully capable of doing art but not of taking photographs of it. 

I then had a minor tantrum, moaned about not knowing what to do, and then continued with this project about two weeks later, at which point I started on the central ... area... 

Firstly I put down a layer of red tissue paper using watered down PVA. 


I then swirled some short pieces of string onto the red tissue paper (it was still slightly sticky, meaning the string would sort of stick down). If I was to do this again I would have used some thinner bits of string and had a more complex kind of pattern, but never mind... 


After that I did a layer of black tissue paper around the edges and then coated the whole thing again with red tissue paper, using copious amounts of watered down PVA. 


As you can see, it looked kinda strange... 

I finished this by trimming off the edges and gluing down a printed off background photo for each outer page (I used old holiday pics).

4&5 


6&7


8&9


This is a pretty odd one, but I much prefer it to the oil one on pages 2 & 3 so I consider it to be an achievement. 


Monday, 9 July 2012

Art Project: Pages 2&3

So I'm not entirely sure what the hell happened here. I promised to blog each page, I definitely did not promise that each page would be worth blogging about.
I always wanted to try oil painting and, although I will actually be taught it next year with proper equipment and actually knowing what I'll be doing, I figured I might as well give it a shot now. So, equipped with a £5 pack of Impressions oil paints from a charity shop and my Great Grandfather's old, digustingly sticky bottle of Windsor and Newton medium, I set about creating Mr. Woozle. 


Cheap and cheerful (or not so cheerful, but definitely cheap...) Impressions oil paints. 


80+ year old medium (I think from the way it looks you can probably guess how bad it stank). 


(I know, it looks absolutely disgusting.) 


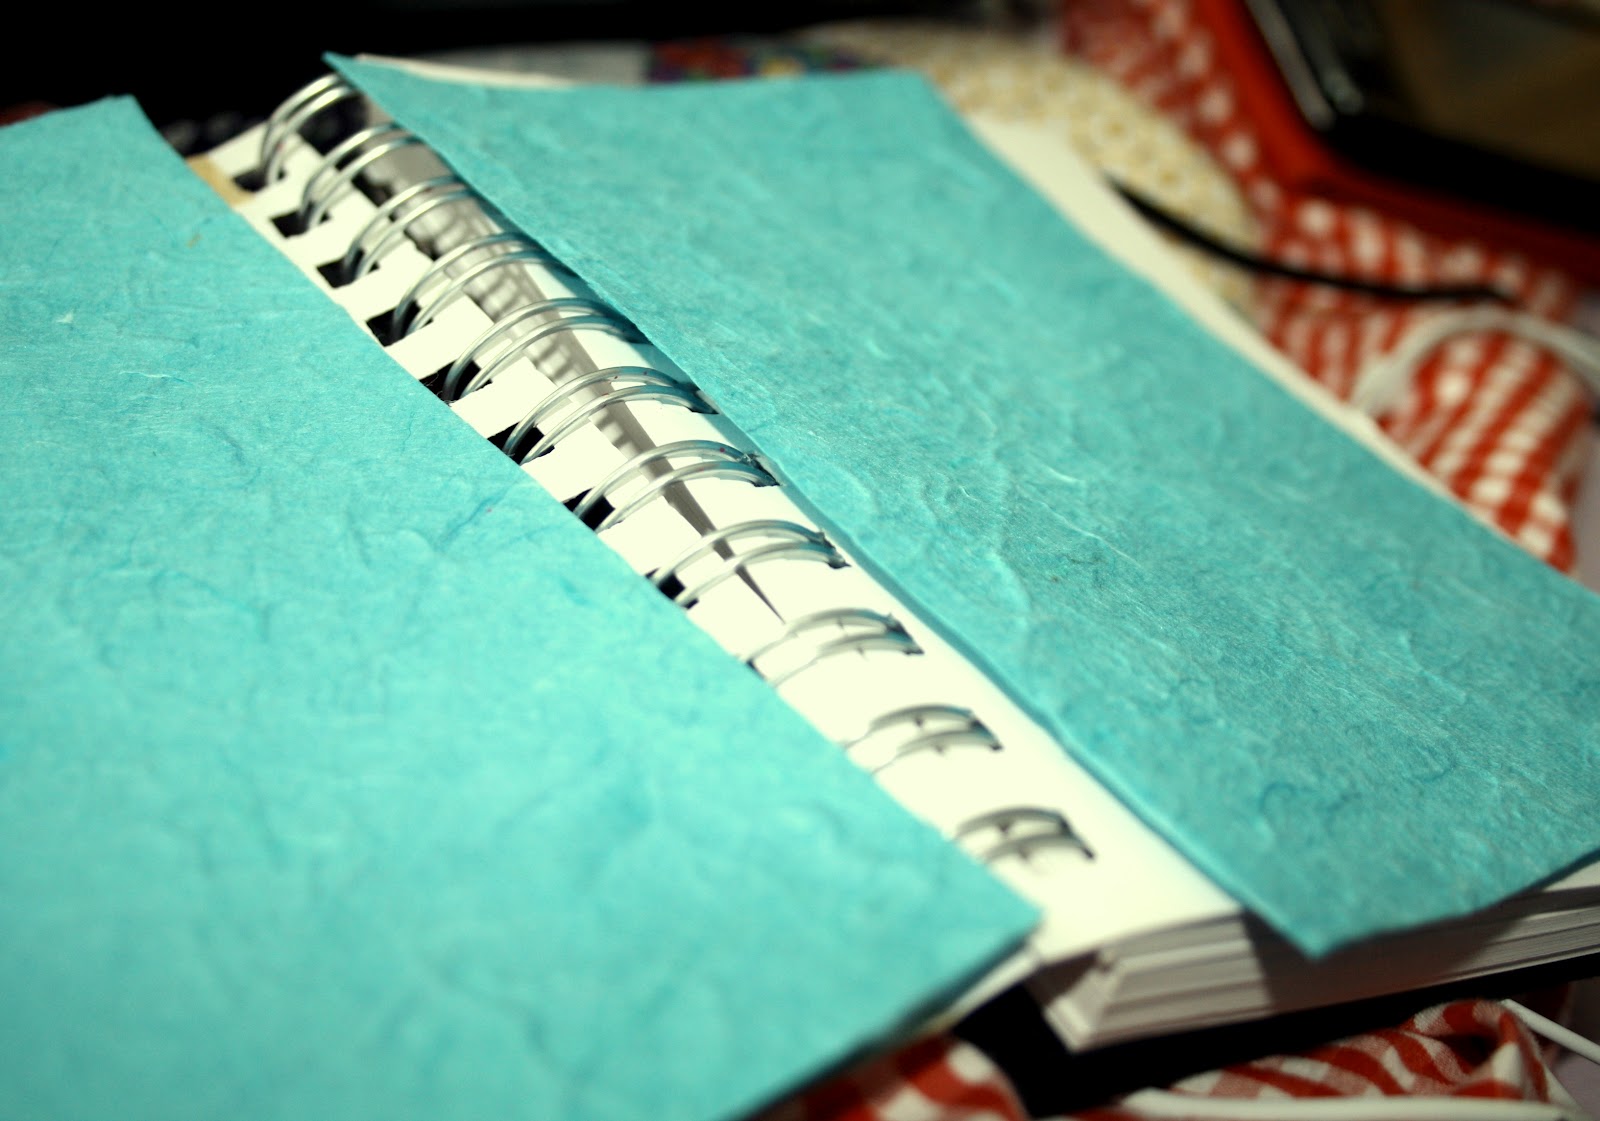
Before starting, I glued down the background. For this I used some blue, home made paper. I thought this would look cool because it was so textured, but I later discovered that it went extremely fluffy, which was not conducive to painting.


(Obviously at some point I actually stuck this down, but I clearly forgot to photograph that part.)

Apologies, but during painting I got so frustrated and confused with the paints, and the smell of the medium was so dreadful that I wanted to vomit, that I completely forgot to take any photos. Basically, I applied a thinned down layer of lemon yellow, then into that blended a thicker layer of yellow ochre from the outside in. 
To add shadow and definition, I used burnt sienna and very tiny amounts of black. On the teeth I used white and a mixture of the aforementioned colours. 
To finish this off I used some soft pastels to add a little more definition, but this was only for a couple of highlights and shadows. 


As you can see, Mr. Woozel is not particularly fantastic, but at least I tried, right? 

... 

I may have to edit this later on... 


Tuesday, 3 July 2012

Art Project: Page 1

I'm going to be blogging each page I do (hopefully) in my Art A Level sketchbook which is our summer project. I got my dad to go out and snaffle the last A6 ringbound sketchbook in our entire city in the early hours of Tuesday morning, and then decided to kick start it before I forget about it. 

I was inspired by the lyrics of Christina Perri's 'Bang Bang Bang  ('scuse the video, WMC keeps blocking it) and decided to do a kind of visual-lyrics kinda thing...
I started by drawing out a sketch of the layout (photo's unfortunately not in focus) and then tracing the shape of the speech bubbles and copying that onto some card:


I then cut the shapes out and covered the pieces which would go in the middle with origami paper (because it's pretty).


I then painted the other four pieces in red and blue acrylic paint and then did a thin layer of newspaper Papier-mâché on the page that I would be using in my sketchbook. 


I am fully aware that these are probably the worst quality photos you have ever seen; they were taken on my phone. 


After the newspaper had dried I put a piece of Japanese calligraphy paper over the top and covered it in a layer of water and PVA, and then once that had dried just a thick layer of plain PVA (for shininess).


On the speech bubbles I painted the shape of the words on in white acrylic using a pointed chopstick and then when that had dried wrote the necessary lyrics on top using a biro and a Sharpie. 
Finally, I coated each speech bubble in clear nail varnish (glossiness) and glued them onto the background. To finish, I wrote the remaining lyrics in what seemed like a sensible place with Sharpie and splattered some watered down red paint over the top. 


Overall this took me about 5ish hours, excluding sleeping, eating, and messing around on YouTube. I probably won't explain every page in as much detail, but I will definitely make a post about each page I do!